In this article we will guide you through the creation of posts and how to categorize them in a better order for your customers to see when they access your website.
Before we proceed you will have to access the admin area of your website. With Managed WordPress account you can access the admin area in two ways:
Log in to your Managed WordPress account with us → Hover over the TMD logo → Websites → Manage website → WordPress Admin

Access the URL with your domain: domain.com/wp-admin
How to create a post category
In order to create a new post category go to your admin area → Posts→ Categories:

By creating a category you are organizing your posts to one subject. For example if you have a page or blog for cars you can create the categories according to the different models of cars for which you are writing.
You have to type the name of your category and the slug. The slug is the user-friendly URL like permalink. If you do not type the slug, WordPress will automatically create it as the name of the category.
From the drop-down menu if you leave it on “None” the category will be created as a main one. If you choose another category from the menu the new one will be created as a subcategory.
Once the categories you need are created you can proceed and create the posts which you can now set for a certain category
How to create posts
In order to create a new post the first thing you need to do is navigate to Posts → Add new
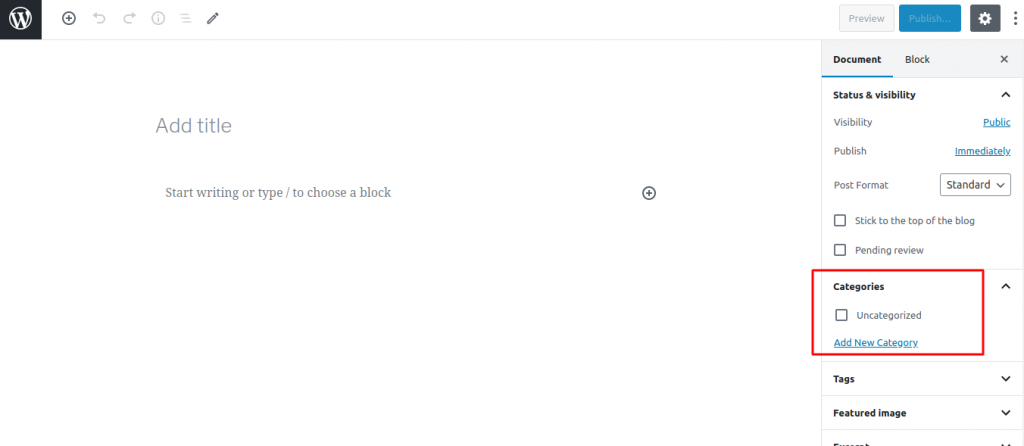
The system will open a new page for you which looks like a text editor

You will have to fill the title of the post, the text and after that from the menu on the right you can choose the category in which the post should be and use the “Publish” button to publish the post.
How to edit categories
You can edit or manage your categories and subcategories after they are created. Just go to Posts → Categories. On the right you will see the list of the created categories and subcategories on your website. In order to edit them click on the “Edit” button when you hover over the category.
