It is not a coincidence that vTiger is one of the most popular CRM platforms on the market today with more than four million downloads. In fact, one of the main factors, contributing towards that, is the fact that it contains a lot of amazing features and offers its users great functionality and flexibility.
In this part of the tutorial, we are going to start with some general overview of the vTigerCRM dashboard. You can access it by typing down your website’s URL on a web browser, click enter and sign in. Once you are at the Home Page, you will see that the main options, which you can choose from, are featured in the main menu at the top of the screen. We will cover them one by one:
Calendаr – in this section you will find the options to have a personal calendar and a shared one as well.
Leads – those are your unqualified customers, who you can target and with effort can be converted into regular clients.
Organizations – these are the institutions or just regular companies, that your business is associated with and that have certain significance for you.
Contacts – they are also known as your qualified sales leads, which contain valuable information about the person or organization.
Opportunities – comprises of your strategies to generate future revenue, represent potential sales and the ways to engage prospective customers.
Products – the goods and services, currently at stock in your Inventory.
Documents – all the files you have saved on your vTiger CRM application.
Tickets – request, generated by your customers, after the sale is made, most commonly for support.

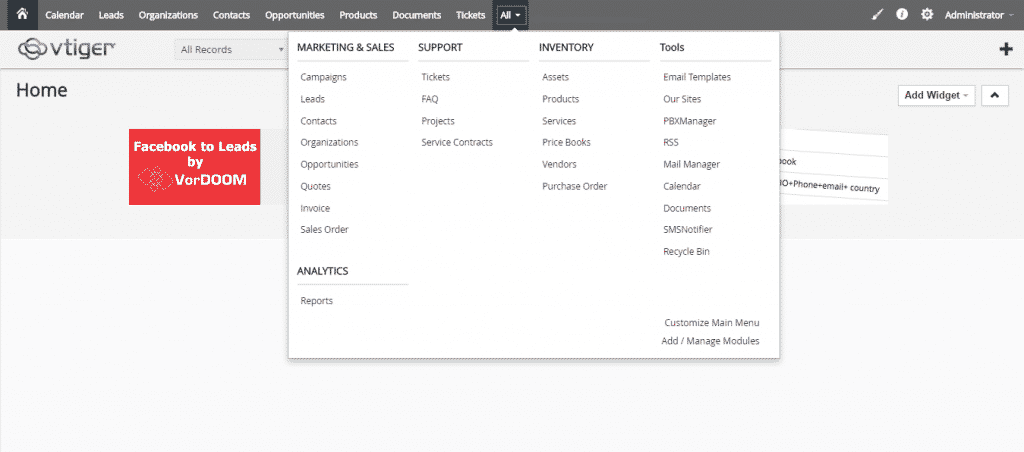
You can also find all of the main options, together with the other ones, arranged in different categories, by clicking the All button at the top:
Next, on the Administrator button, you can find the My Preferences option, where you will be able to find the various personal preferences:

On the gear icon, are residing two options, which you can select, namely CRM Settings where you can manage all of your script’s main settings and the Manage Users where you can add/edit/delete new ones:

When you click on the “i” button you will be presented with three main options, which are:
Documentation, which will lead you to a specially dedicated Wiki section of vTiger’s official website
Video Tutorial, which can be viewed on the same website as well
Feedback, where you can send your comments directly to the developers of the script:

On the left of it, you will see a brush icon, where you can choose the main colour of the menu of your website:

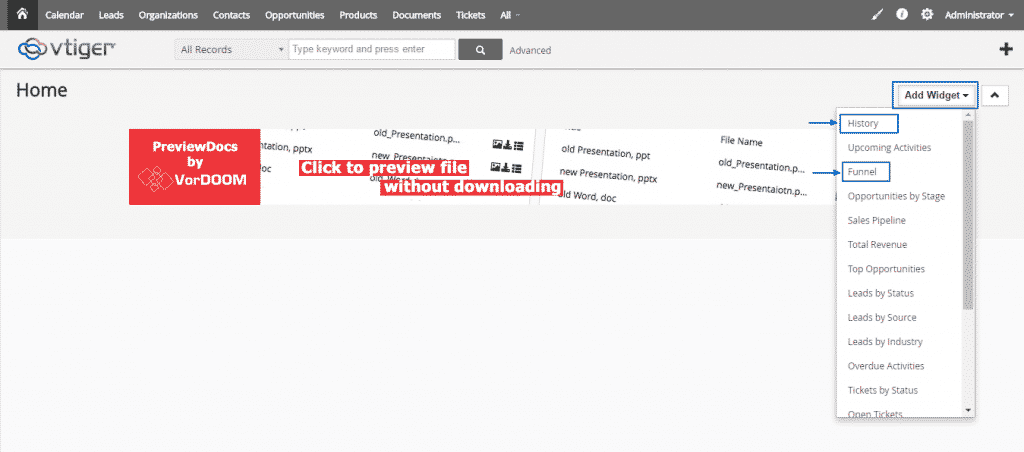
A great functionality built within the vTiger CRM is the Add Widget option, where you can add a list of selected widgets to your Administration Panel home page. As an example, in this tutorial, we will enable History and Funnel:
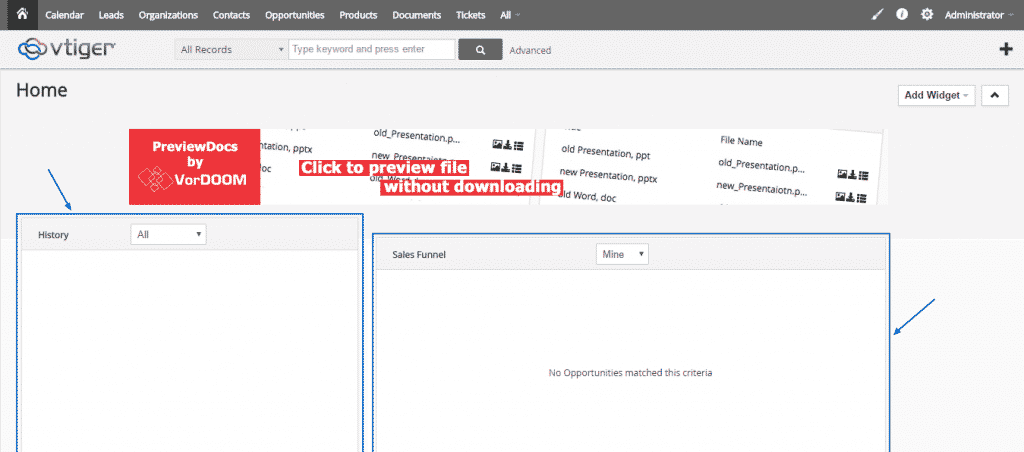
Here, on this screenshot, you can see how the two options are now appearing on the home page, where you can move, rearrange and resize them, according to your needs:
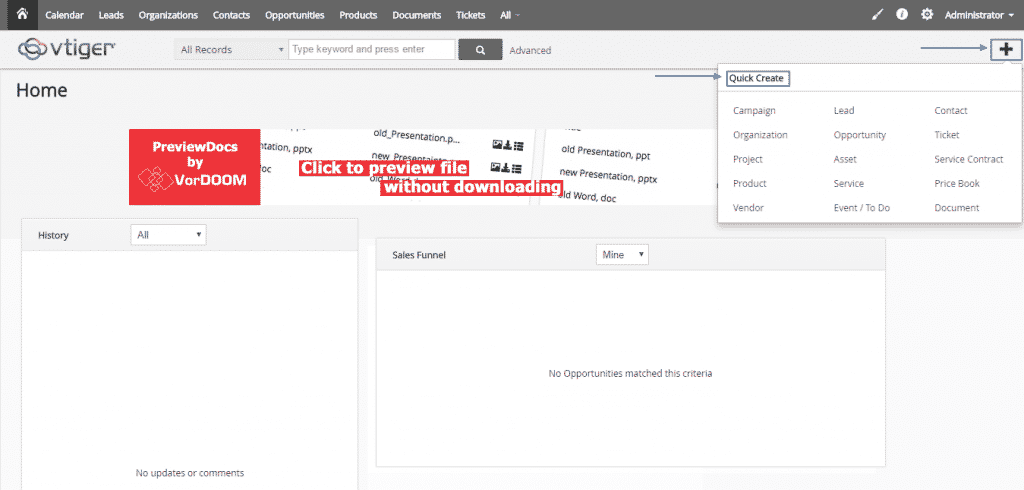
You can use the Plus button on the right, to create Campaigns, Tickets, Projects and many others in a quick and easy manner:
At the top of the screen, you are able to type keywords and then press the button on the right to initiate a search:

There is also option for searching in certain records, if you do not want to use the default All Records search process:
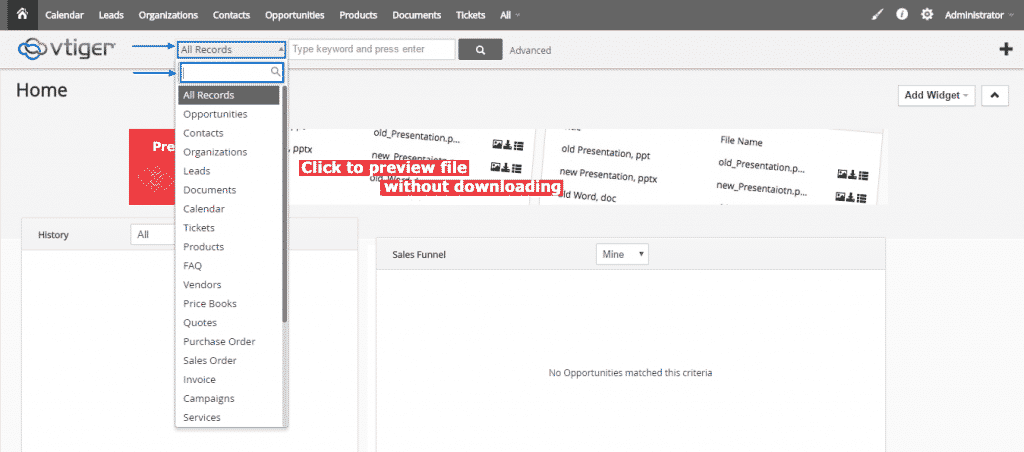
In the middle of your screen, you will also see a banner:
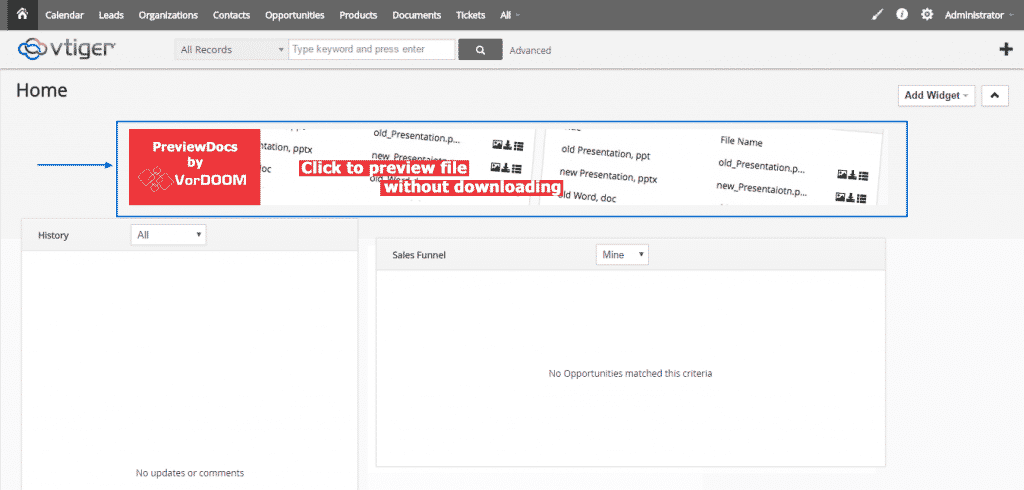
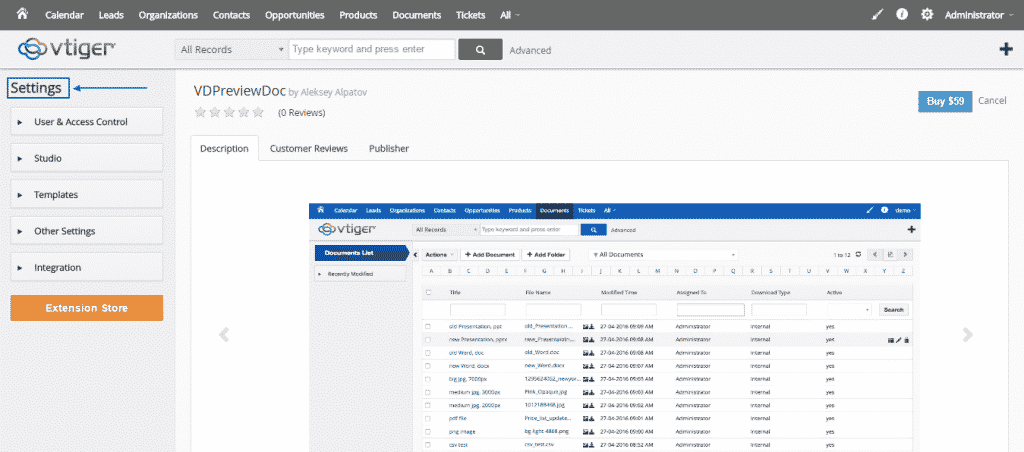
If you click on it, you will be redirected to the Settings page with the Extension Store for vTiger CRM:
Back on the home page, if you click on the arrow at the right, you will make the banner disappear and when you click on it again – to reappear:

These are the basic options of vTiger CRM’s Dashboard and in the other sections of this tutorial we are going to cover some of them into further detail.
