To install PrestaShop on your hosting account with us you should first download the latest stable version of the application form the official PrestaShop website. Currently the latest available version is 1.7.0.2 Stable.
Once you have downloaded the prestashop_1.7.0.2.zip file you need to extract it on your local computer. The extracted files should be uploaded under your hosting account where you would like to have PrestaShop installed. It is important to upload the files to the exact folder you want to set a root for your website. This can be done via FTP client by following the instructions here.
As soon as the files are uploaded to your account you should create a database for the application. You can find more information on how to do that in our article here.
When the database is created you can proceed with the actual installation. To do so you need to access the root folder of the script via your web browser. In our example we are installing PrestaShop in public_html/PS, so the URL we will type in the browser is domainname.com/PS. You will be redirected to the installation wizard.
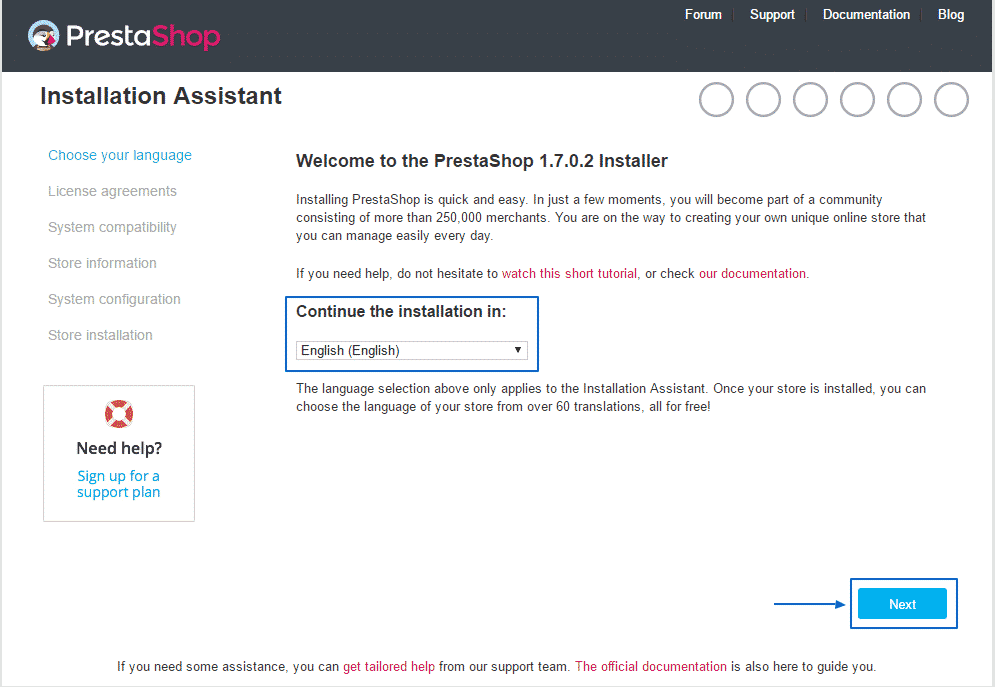
On the first step you will be asked to choose the language you want to use for your store:
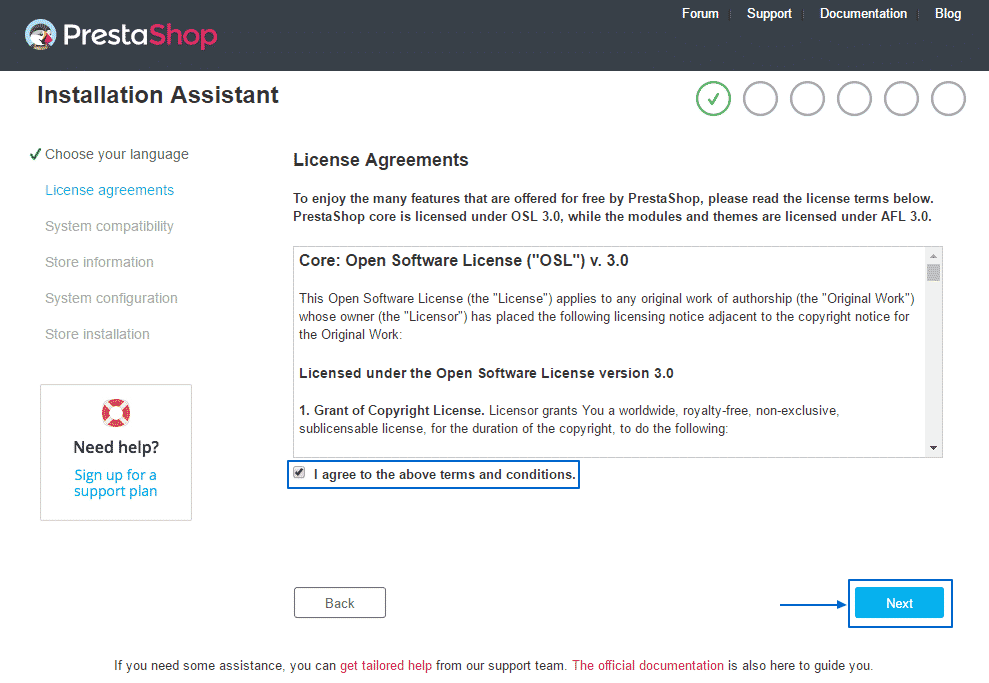
Next you need to agree with the terms and conditions and proceed:
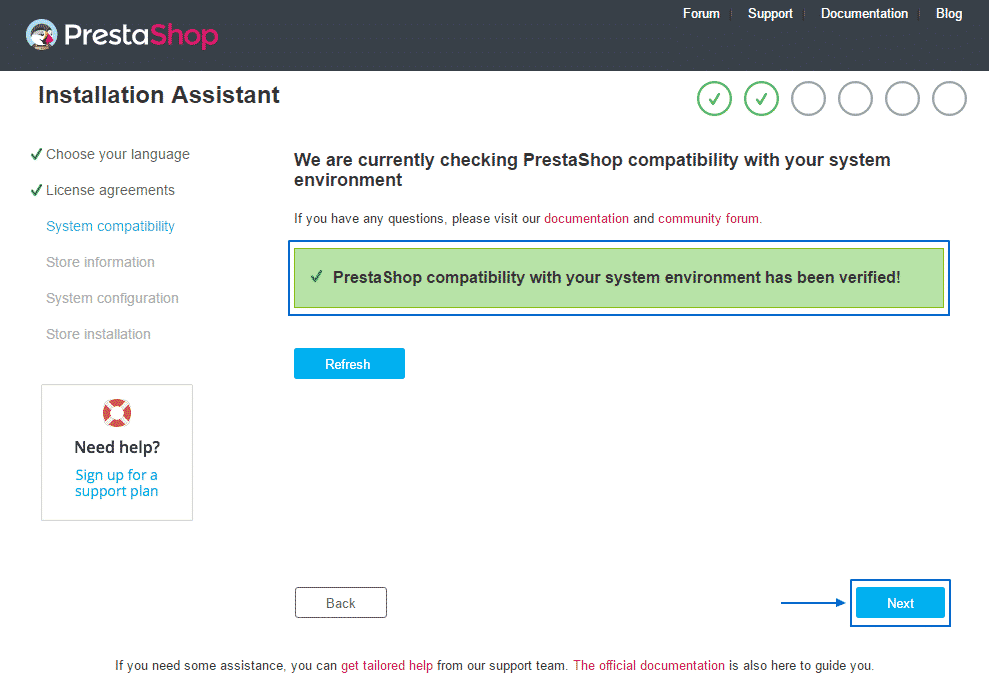
Now a system compatibility check is made. Click Next to proceed:
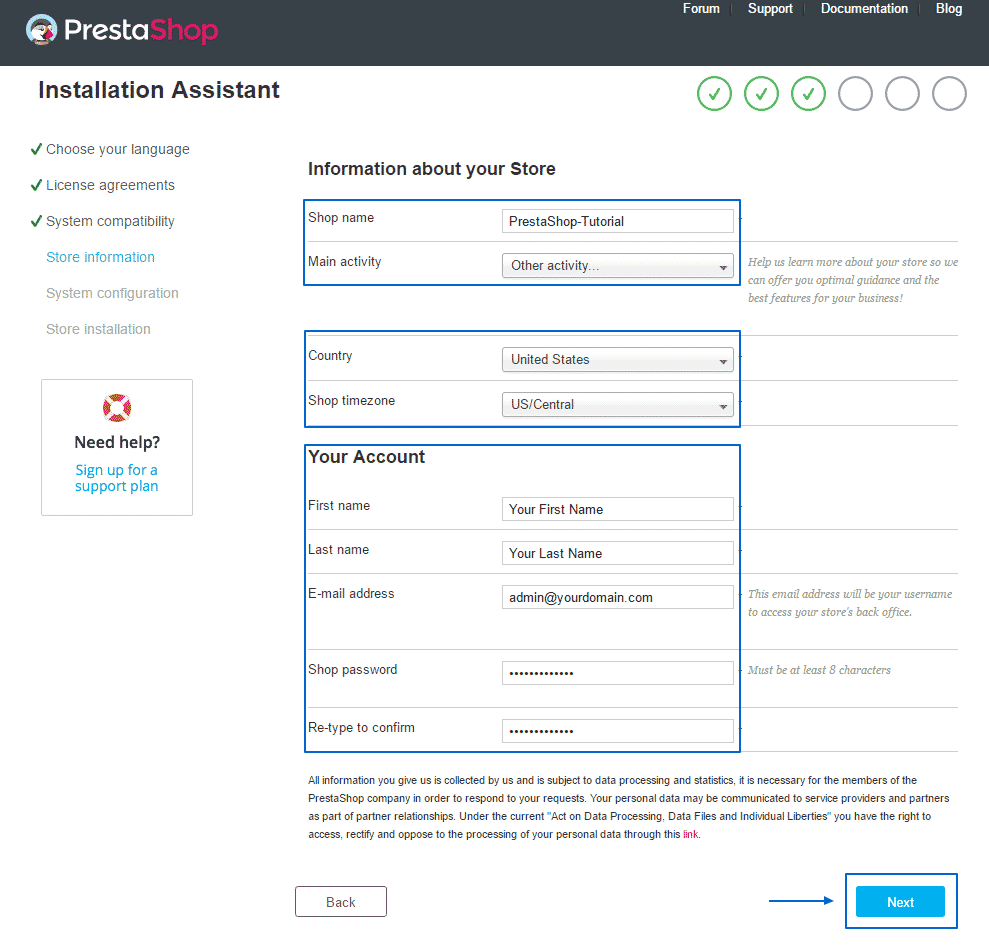
On the next page you will need to supply your store information – the Shop name and activity, the country and timezone, your name, email address and the administrative password for the store:
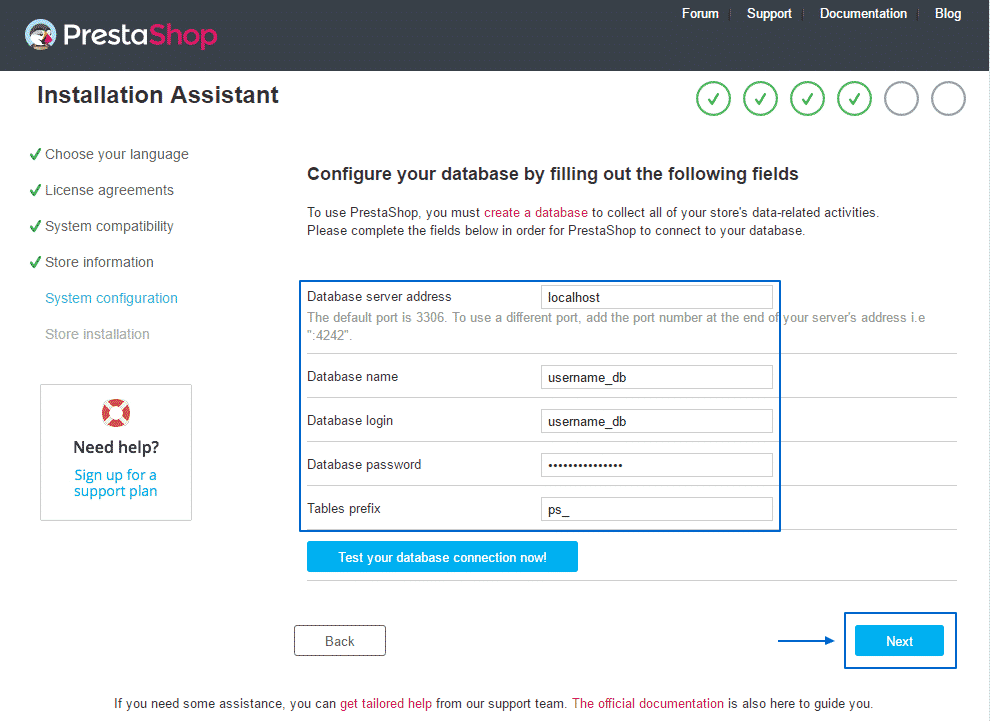
Now it is time to enter the credentials for the database associated with your website:
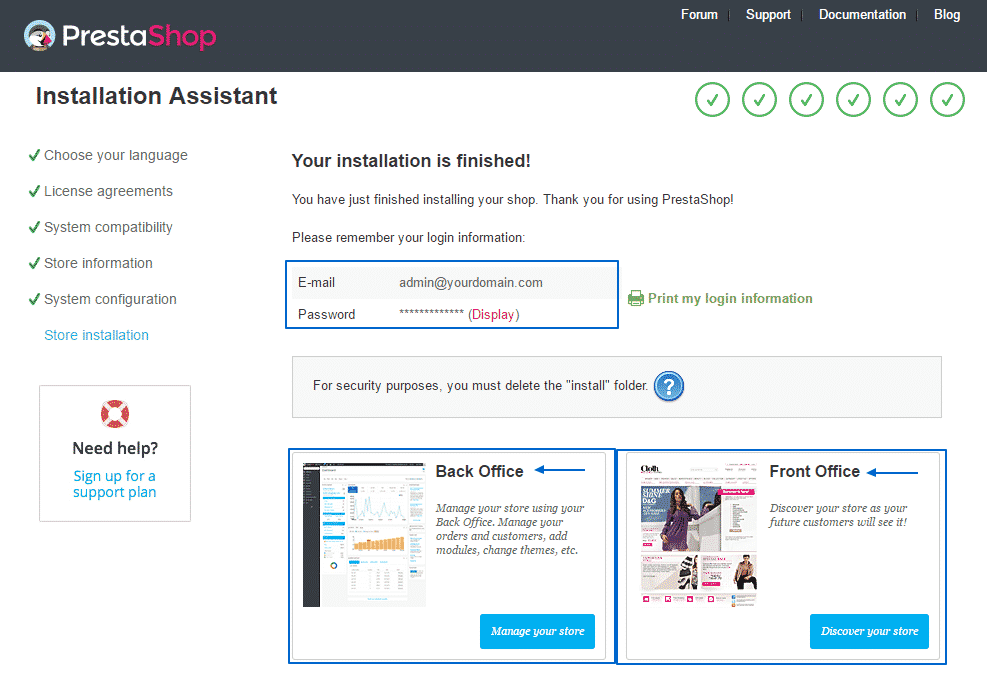
Congratulations! Your PrestaShop application is successfully installed. For security reasons you need to delete the “install” folder of the script. You can do that using an FTP client. You can now access the front office or the administrative area of the website:
