In this tutorial we will show you how to add a product to your PrestaShop store.
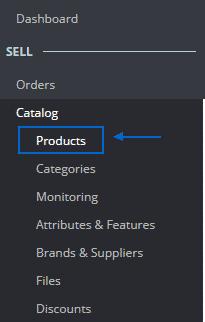
First go to your dashboard > Catalog > Products:
Click on the New Product button:

On the New Product page you will see several sections. We will now explain the first one:
Basic settings:
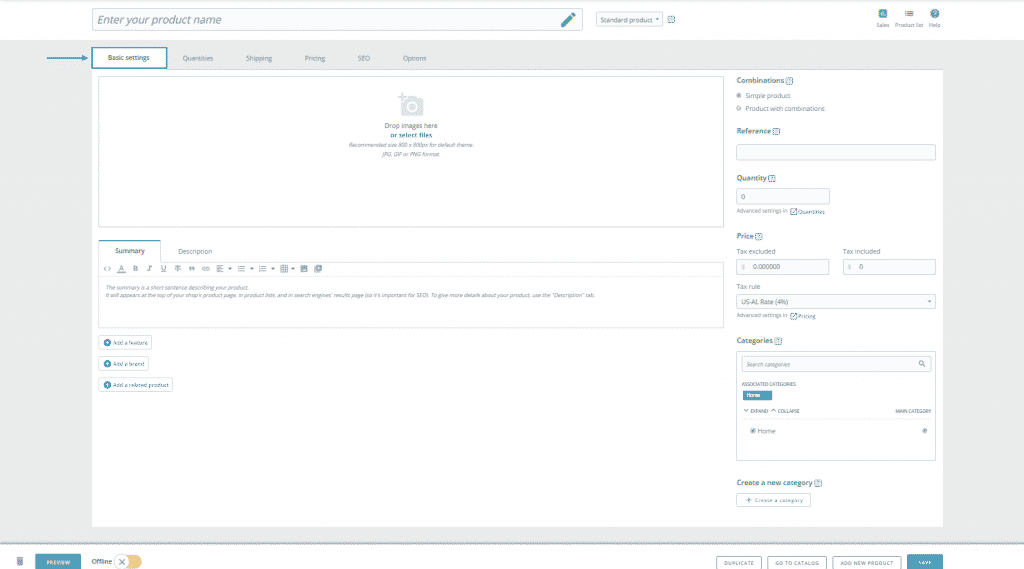
At the top of the page you need to specify the name of the product and its type – standard product, pack of products or a virtual product:

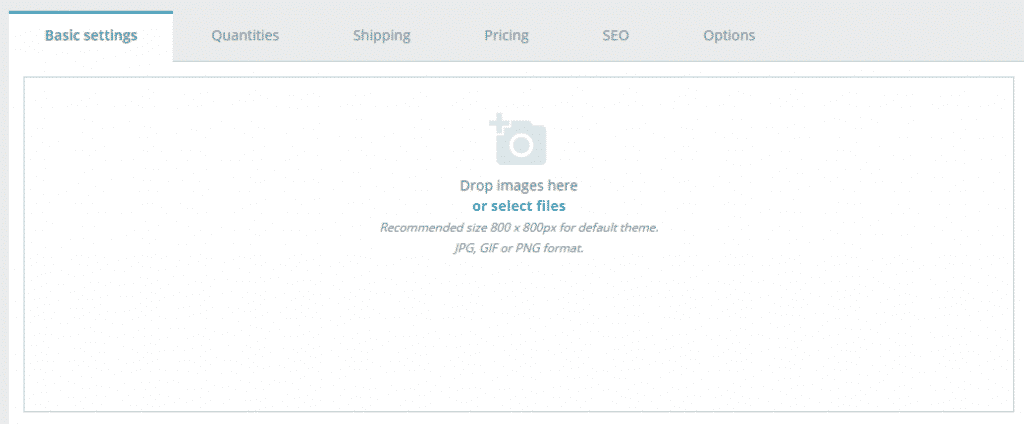
At the section below you can add images to your product:
Then you should add a brief information about the product in a short sentence that would be visible at the top of the product page:

and a detailed description:

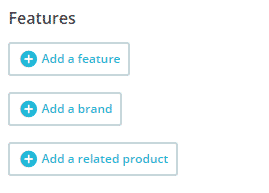
Below the description field you should be able to see the options to add a Feature, Brand and related products. This is the place where you can specify the color, size, dimensions and other features:
On the right side of the page are located some very important settings concerning the product. We will explain the separate features one by one:
Combinations:
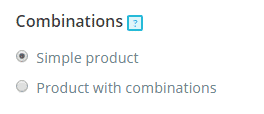
The option specifies the type of the product you are adding. If you wish to offer different variations of the item you should use combinations. For example if you add a T-shirt available in green, red and blue color and also in S,M and L sizes you can use combinations and all the variations will be created and available for purchase.

You can add a unique code to all of your products to identify them easily.
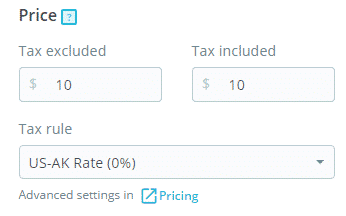
It is one of the most important settings for your products. You can specify the price and add a tax rate to it.
Categories:
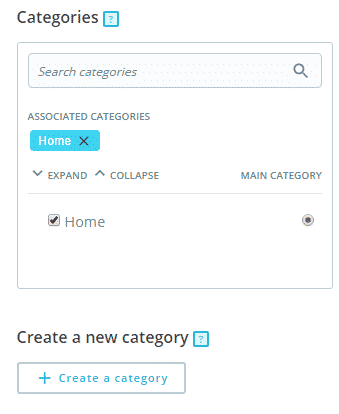
Now you can assign the product to specific category. If it is not present you can easily create one using the Create a category button.
Quantity section:

Here you can specify the available quantity, the minimum quantity for selling the item (for example if you set this to two the customers will need to buy at least 2 pieces). You can also allow or deny orders of the product when it is out of stock.
Shipping section – fill in the product dimensions and weight, calculate the shipping fees and choose a carrier:
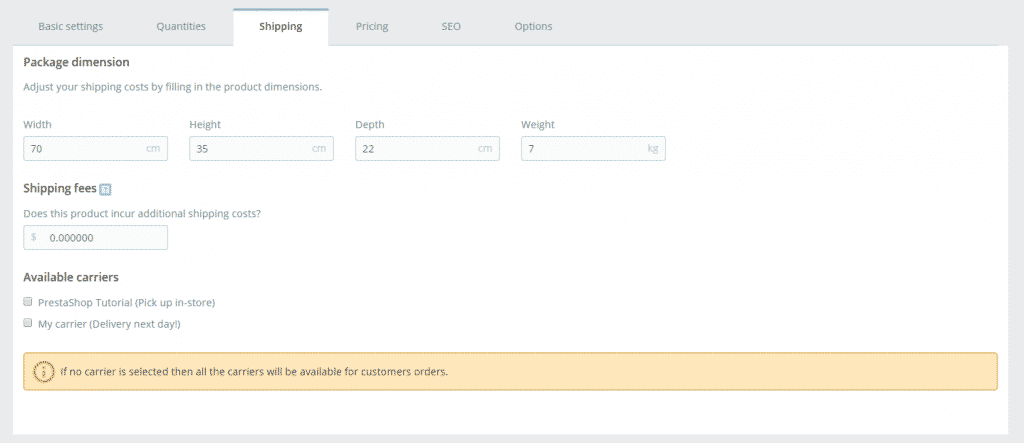
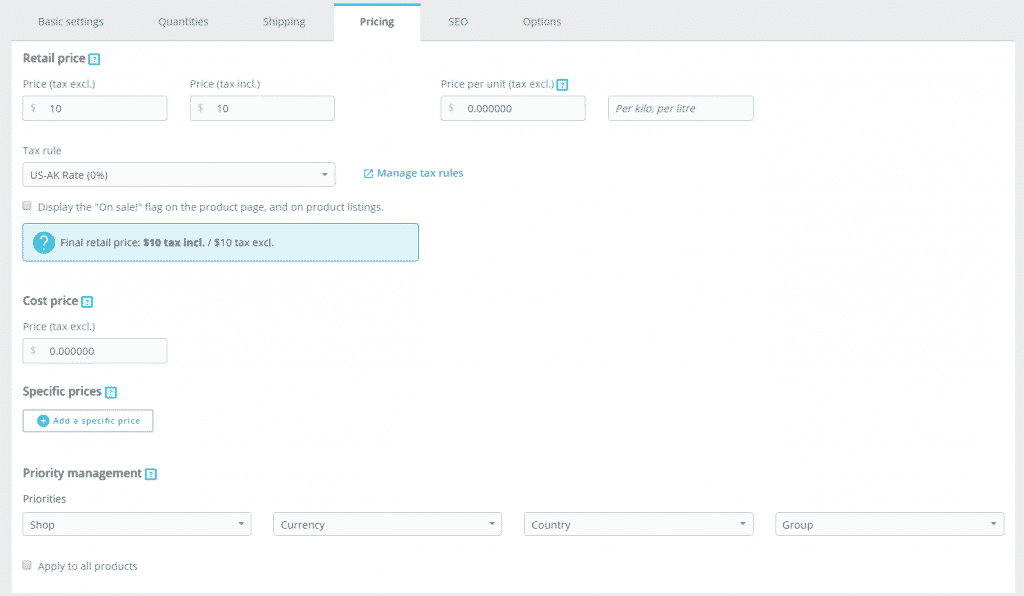
Pricing section
You can make more precise changes to the prices – enter price per unit, set the On sale option and enter the price you have paid for the item:
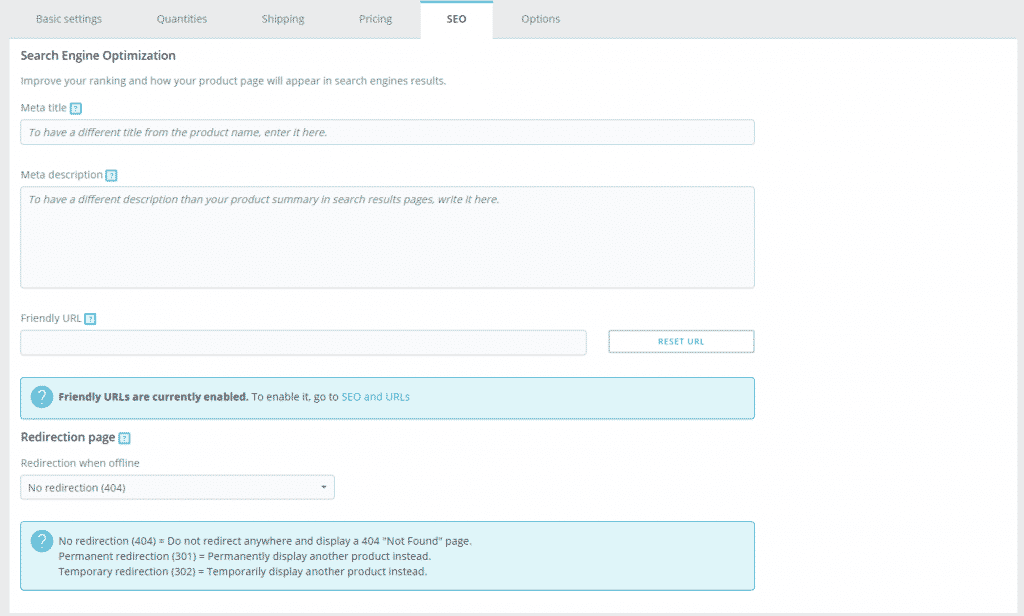
SEO section
This is the place where you can set a meta title, description and friendly URL to your product. This will make it easier for the search engines to index it which will allow the customers to find it easier:
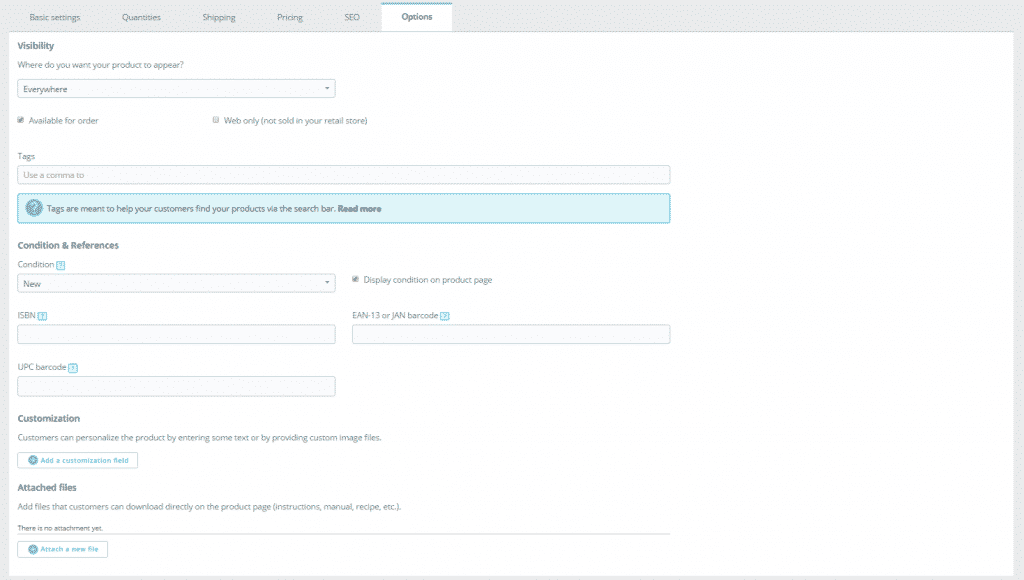
Options section
In this section you can specify where you want your product to be displayed on your website, add tags, set condition and add international codes:
Once you have configured all the options associated with the item you are adding click on the Save button on the bottom of the page and you are ready to proceed with the next one:

With our PrestaShop Hosting plans you will never be alone if you have an issue. Our Genious Technical Support Team will be 24/7 on your immediate disposal.
