How to install PrestShop 1.6 using Softaculous
Installing PrestaShop with TMDHosting is as easy as following couple of simple steps trough your cPanel. In order to begin, you will need to go in your cPanel – the login details for it are provided in your Welcome email.
Once in the cPanel, look for the Softaculous icon, usually located in the “Software/Services” section:

Clicking on it will introduce you to the Softaculous main page. There, among the Top Scripts, you will surely find the PrestaShop icon:
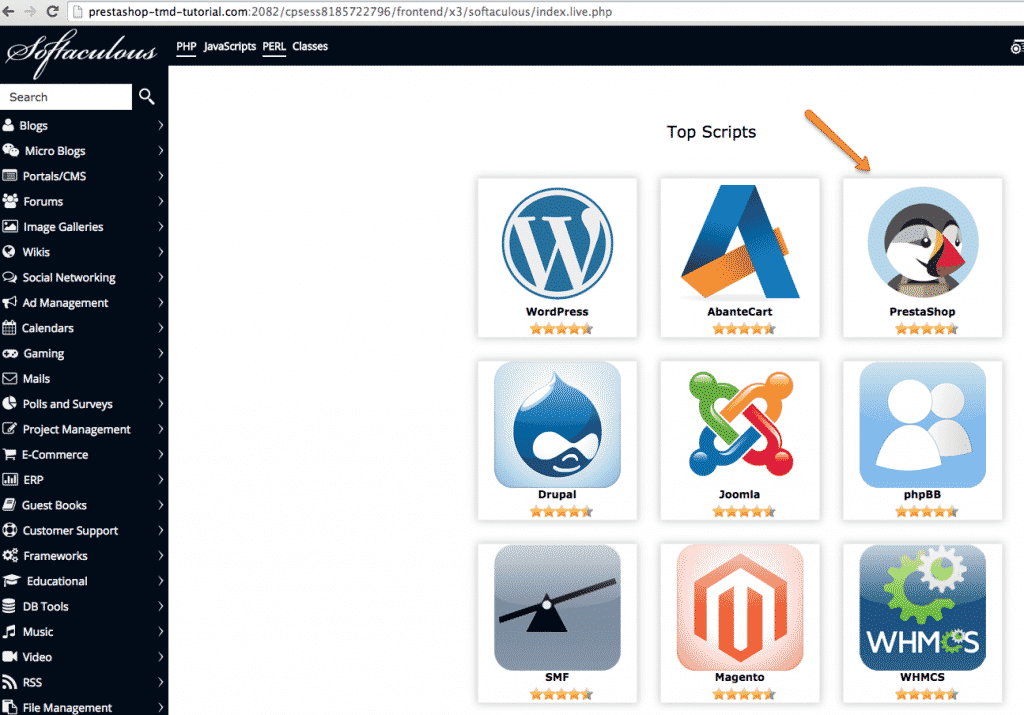
Click on it and you will actually step into the installation process. Here we will divide it in few steps:

1) Installation version and location. At the first part of the installation, you should choose the version you need installed, whether you will immediately enable SSL by the time of installation, the domain name (if you have more than one) and the folder, under which you would like your PrestaShop to reside:
We recommend always picking the latest version of PrestaShop, so you can always use the latest features of this great eCommerce application. We strongly recommend that you get an SSL for your PrestaShop website prior to the installation. You can do so via your Client area > Order > Security & SSL, as well as choose the https:// connection method afterwords, during the time of the installation.
Choose the domain name on which you would like to install PrestaShop and the folder you would like it to operate under. The most simple way of making that decision is to ask yourself — wether you would like to have the store at www.yourdomain.com or at www.yourdomain.com/shop — if you would like it directly under your domain name, leave the directory field blank. If you would like it to put under something like /shop or /store or /commerce, then fill it respectively in the directory field (omitting the / sign).
In our example below, we are installing PrestaShop in a folder named “presta”, under the prestashop-tmd-tutorial.com domain, so it will be available at www.prestashop-tmd-tutorial.com/presta/ when finally installed:

Further on, you will have to choose a name for your store, backoffice (administration) address, set your login details and profile. Two very important things here:
1) Make sure that you do not leave the default “admin123” as the name of your backoffice address. Make sure you change it to something different, which only you know, still make sure you it is easy enough to remember.
2) Make sure that you do not leave the default “password” as the password of your administrator account. Click on the key next to the password box to generate a new, strong password. Write it down for further reference.

As soon as you are ready filling these details, please run once again trough the whole page, making sure you have filed the correct details and write the most important down. Once you do so, you are ready to proceed.
Fill in your email, so you can have one more copy of the most important details, just in case, and then click the Install button.
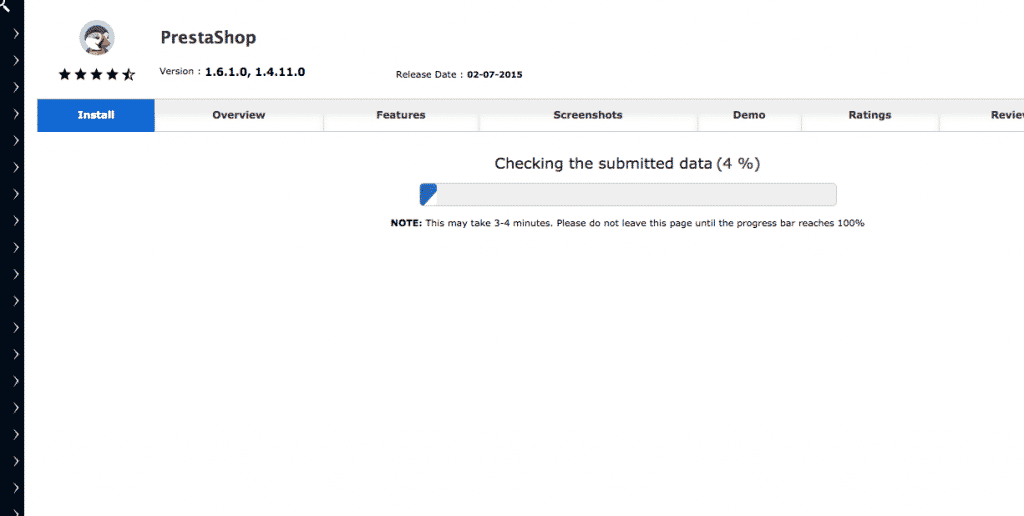
You will see the progress bar for a while, then you will be good to go:
Once the installation is completed, you will inevitably see the following screen, containing your new PrestaShop installation’s address, as well as your backoffice address. You should already have these both written down in the previous steps, as well as emailed during the time of the installation:
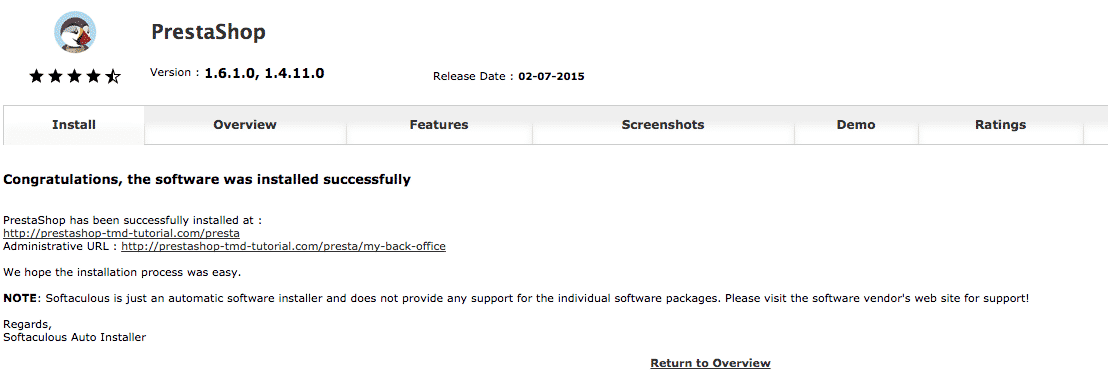
As simple as that it was! Now you are ready to proceed and begin configuring your new PrestaShop store! Click on the Administrative URL and you will see the login screen.
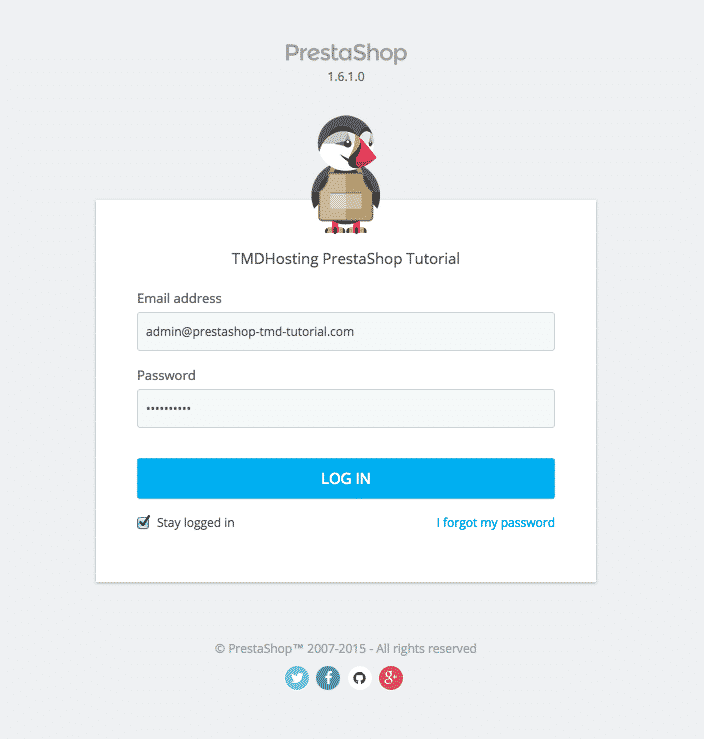
You can login in your PrestaShop using the email and password you have set during installation time. In the next chapter, we take a quick overview of the PrestaShop 1.6 backoffice. Gorgeous! Let’s go!
