We will show you in this article how to manage the users for your Pligg based website.
The first step is to login to the administrator back-end of the CMS:
https://yourdomain.com/admin/admin_index.php
The above is applicable if you have installed Pligg under the ‘www’ root folder of your hosting account. If you have installed it under a subfolder add the subfolder name before the /admin/ in the URL.
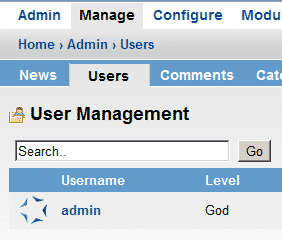
As soon as the admin is completely rendered navigate to the Manage > Users tab:

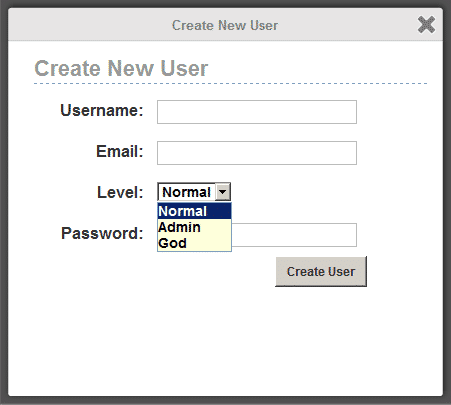
As our demo installation is a new one there is only one username that has the highest privileges. You have three default user levels set on the CMS which you could use to add new users. In order to add a new username to your CMS click on the “Create New User” tab and the following will load:

You should fill in the fields in the form and select the user level. The highest level is the “God” user. If you have accounts set with this username they will have access to all the functions of your Pligg website. The second level is “Admin” – the admin user has limited administration access compared to the “God”. The lowest level is “Normal”. This is the level which will be set for all the new account registrations on your website.