Installing MediaWiki manually is actually a very simple task. This tutorial will guide you through the whole process of installing MediaWiki. Before we start, you will need to prepare a few things. First, create a new MySQL database using your cPanel > MySQL Database Wizard. After that, download the latest MediaWiki release from their official website at:
https://www.mediawiki.org/wiki/MediaWiki
Extract the archive on your local computer. After that upload the contents in your account’s web root directory or in a subfolder of the same. You can easily upload the files using an FTP client like FileZilla. You may check our video FTP tutorials here:
https://tmdhosting.com/tutorials/video/ftp.html
Now access the MediaWiki files via your browser using https://yourdomain.com/ You will be redirected to the installation page of MediaWiki:
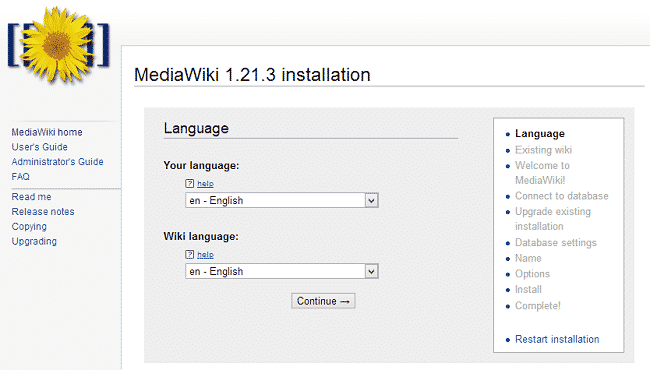
Select the language in which you wish to install MediaWiki and proceed to the next step. The system will perform a check to see if all server requirements to run the script are met:
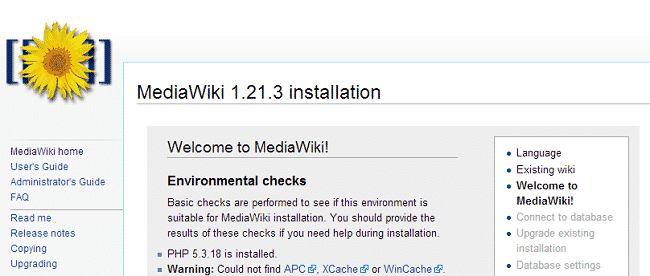
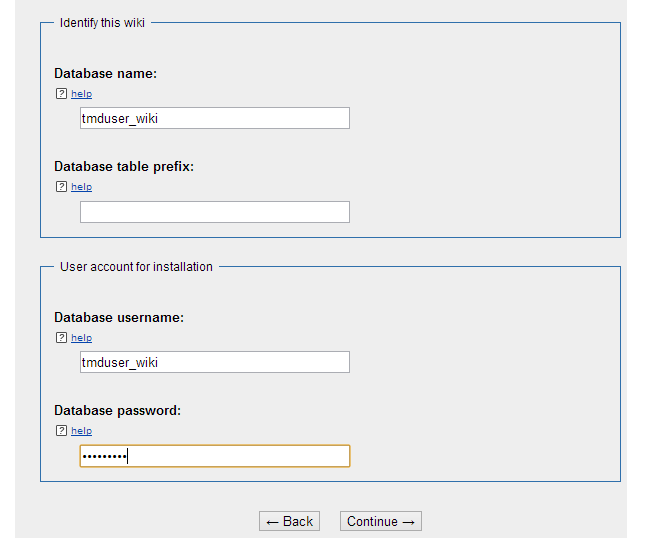
You can safely proceed to the next step. Now you will need to configure the MySQL Database details for your site. Use the credentials that you created earlier in the beginning of this tutorial:
Now configure the site name and your administrative account:
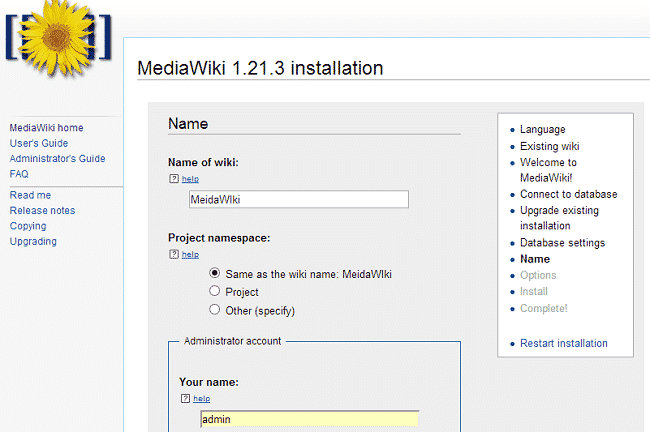
Click the “Continue” button. Now you can customize the rights that the users will have as well as select the extensions that you wish to use on your MediaWiki. Review the page and select the preferred settings. Then continue to the next page:
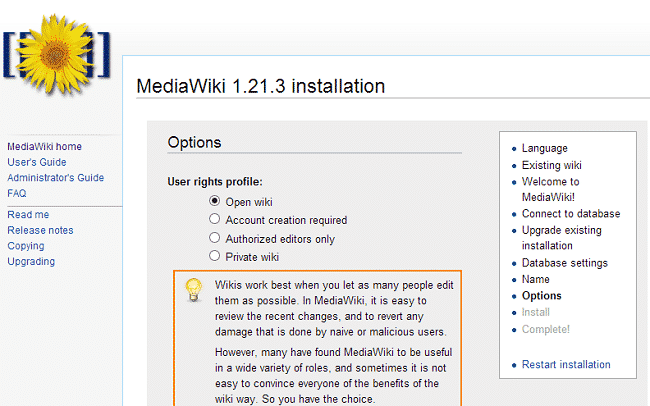
Heading to the last step, click the “Continue” button to finalize the installation:
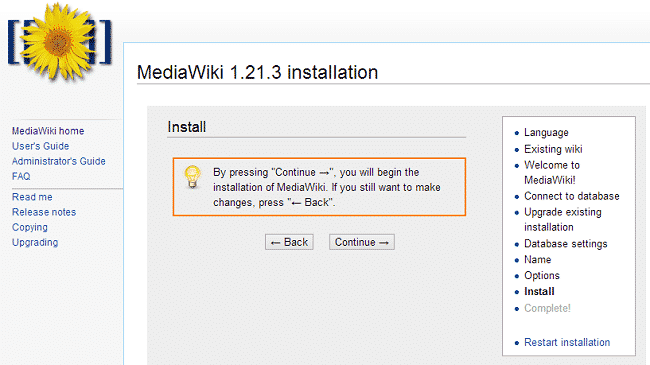
When the installation is complete, the installer will provide you with a file called LocalSettings.php. Upload that file in the root directory of your MediaWiki website. You can easily complete the upload using your cPanel > File Manager. Once the file is uploaded you can enter your MediaWiki website.
