Before initiating the upgrade of your Invision Power Board, make sure that you have created a full backup of your website. You can check our guide how to backup your website here:
https://www.tmdhosting.com/tutorials/invision-power-board/ipb-how-to-create-backup.html
The next thing you will need to do is obtain the files for the latest IPB release. You can do that from your Invision Power client area. Once you have downloaded the archive, extract it on your local computer. You will need to upload the content of the “upload” folder in the directory where you have installed IPB. Note that only the core files of IPB will be overwritten during this process. The files can be easily uploaded via FTP. You can check our FTP video tutorials here:
https://tmdhosting.com/tutorials/video/ftp.html
Once you have uploaded the files navigate to:
https://yourdomain.com/admin/upgrade/
If you have installed IPB in a subfolder of the public_html folder, for example, in a folder called “ipb”, you should start the upgrade process using:
https://yourdomain.com/ipb/admin/upgrade/
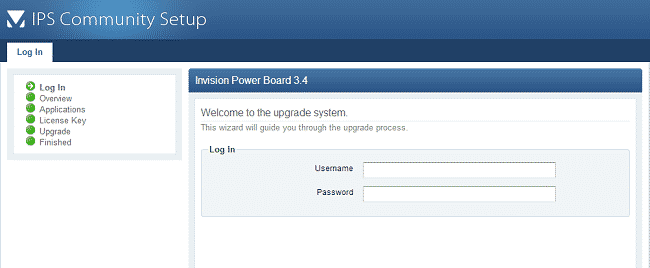
This will bring the upgrade page for your IPB forum:

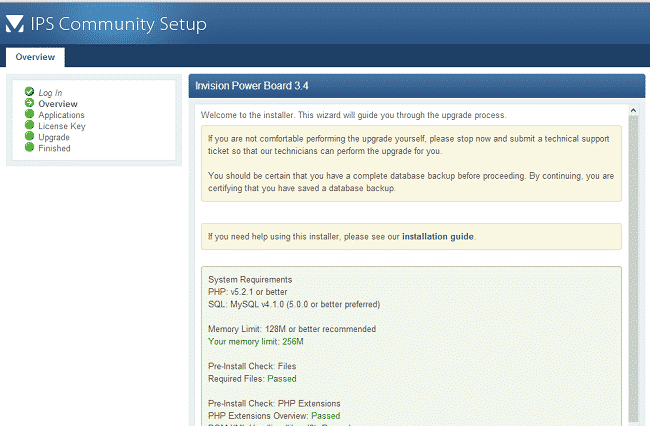
You will need to login with your administrative user. You will be taken to the overview page, where the script will check if all server requirements are met:

Next, you will see a list of available applications. You can select the ones that you wish to upgrade. The system will automatically complete the upgrade after you click the “next” button. Wait for the process to complete. That is all. Your board has been successfully upgraded.
