In this tutorial we are going to show you how to install e107 CMS manually. Before you start, you will need to download the e107 files from their official website at:
Once you have downloaded the archive, upload all of its contents in your account using FTP. You can check our FTP video tutorials here:
https://tmdhosting.com/tutorials/video/ftp.html
The next thing you will need to do is create a MySQL database. You can do that via your cPanel > MySQL Database wizard. You can follow our video tutorial for detailed instructions on how to create a MySQL database:
https://www.tmdhosting.com/tutorials/video/cpanel/cpanel-x3-createmysql.html
Now you can proceed with the installation by going to:
https://yourdomain.com/install.php
If you have uploaded the script in a subdirectory of your account, for example folder called “e107”, start the installation process by going to:
https://yourdomain.com/e107/install.php
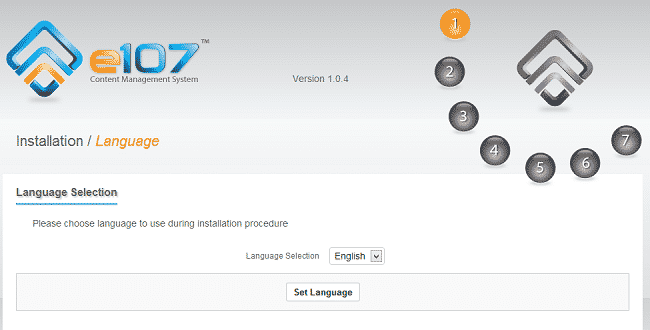
On the first page of the installation select your language from the dropdown menu and click “Select Language”:
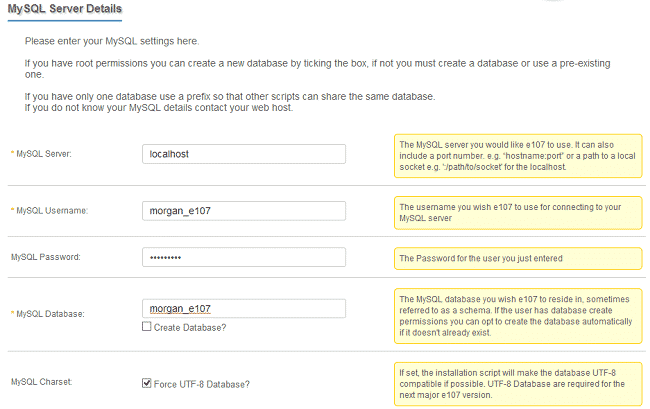
On the second step enter the MySQL details that you have created earlier:
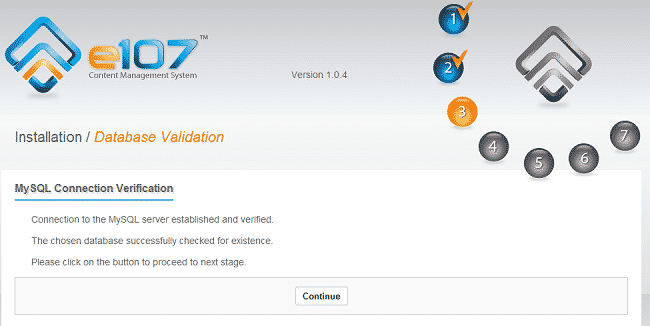
Click the Continue button when you have filled in the required fields. You should receive a message that the connection to the MySQL server has been successfully established:
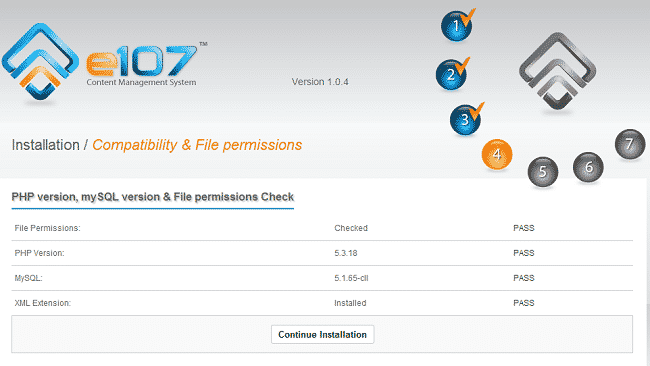
Click the Continue button. The script will perform a check if all server requirements are met. All fields should show “PASS”:
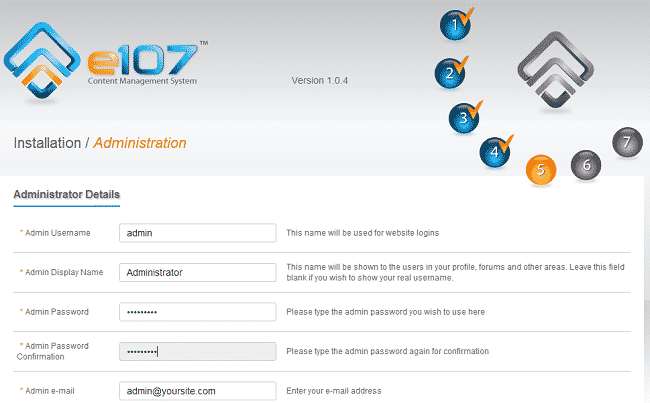
Click the “Continue Installation” to proceed to the next step. Now you will need to fill in your administrative logins:
Admin Username
Admin Display Name
Admin Password
Admin Email
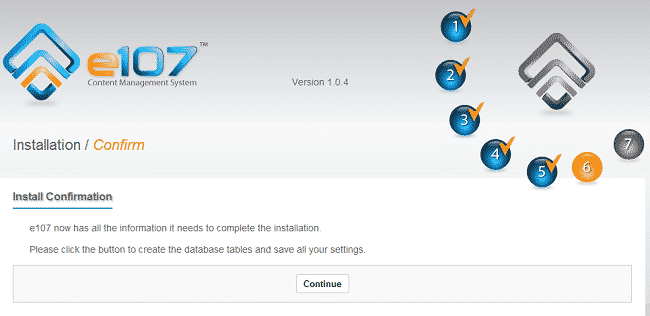
After you click the Continue button e107 is ready to complete the installation:
Click the Continue button one more time to finalize the installation. You will receive a message that e107 has been successfully installed:
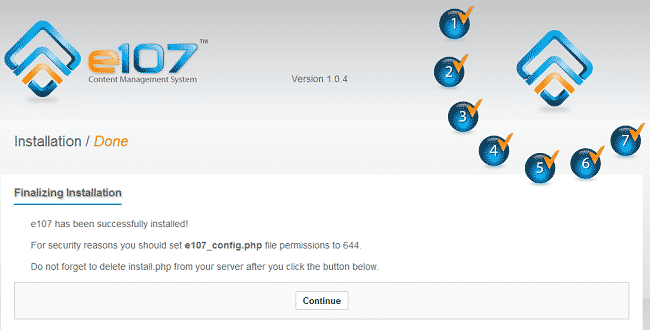
It is important to remove the install.php file from your e107 directory. You can easily do that via FTP.
