Even that Dolphin provides a variety of functionalities you will probably need to add a specific ones to your platform.
In such cases you can use the modules developed for the script that can enhance the performance or allow you to make modification to the options the members have or the appearance of the website.
In this section of the tutorial we will show you how to install a module.
First you need to find the appropriate one for your needs. You can look for such in the official Boonex market or another vendor offering modules for Dolphin. There is one thing you should definitely have in mind when you purchase an extension and it is the version of the script that it is compatible with. In case that the version of your Dolphin application and the one of the module are not the same it might not work properly or it may cause the whole website to malfunction.
Once you have found the module you want to use you need to download it on your computer and extract the file (it is usually a zip archive). In the module directory you would probably see a vendor folder and a readme file. Please note that vendor will be replaced with the exact name of the one which provides the module in question.
On the other hand the readme file usually contains information about the extension and its vendor, as well as installation instruction.
Let’s now proceed with the actual installation which covers the basic steps you need to perform, having in mind that there might be some more specific modules that require additional actions.
Once you have extracted the extension archive you should access your hosting account either using the File Manager in cPanel or your favorite FTP client. Then navigate to the root folder of your application and access the modules one. In our case the full path to it is:
public_html/dolphin/modules
since our application is installed in a subfolder and not directly in the public_html directory.
Next upload the module (the vendor directory) to the modules folder on the server.
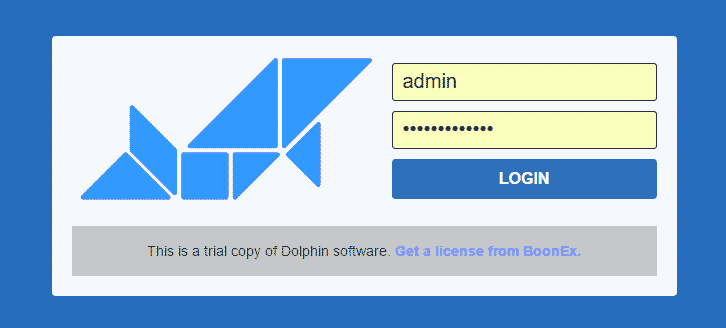
As soon as it is uploaded you need to go to your Dolphin Dashboard:

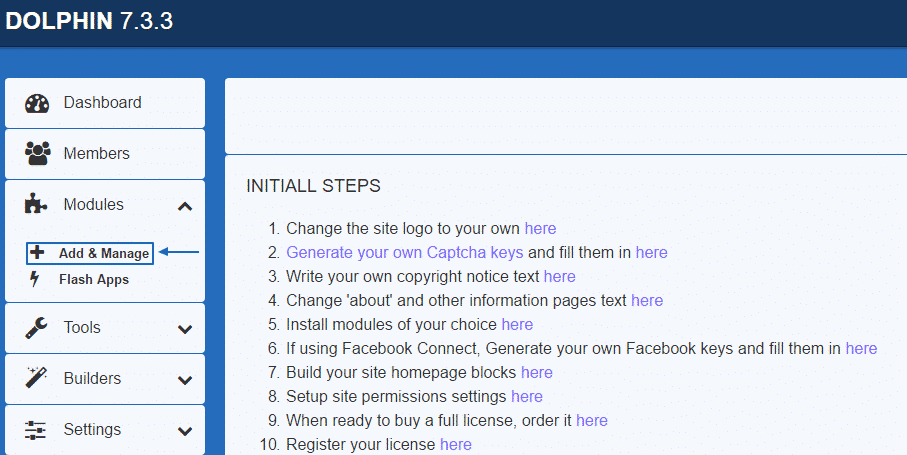
Next navigate to Modules > Add & Manage:

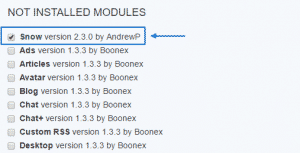
On the page that will be displayed you should be able to see the new module under the Not Installed Modules section. In our case the module is called Snow:

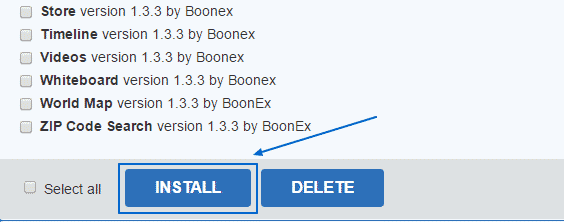
What you need to do now is to check the box next to the module, scroll down to the bottom of the section and click on the Install button:

These are all the actions you need to perform in order to install new module. Once they are completed you should see a message confirming that the module is installed properly and it will be listed in the Installed Modules section:
