Concrete5 is a great online platform, but the first step towards using it is to actually install it. There are two ways you can do that and here we are going to cover the easiest one of them – the automatic installation.
You should first access your cPanel.
Once you are there, navigate to the Software section and locate the Softaculous App Installer tool:

When you enter the Softaculous installation tool, just click on the top left search bar, as depicted here:
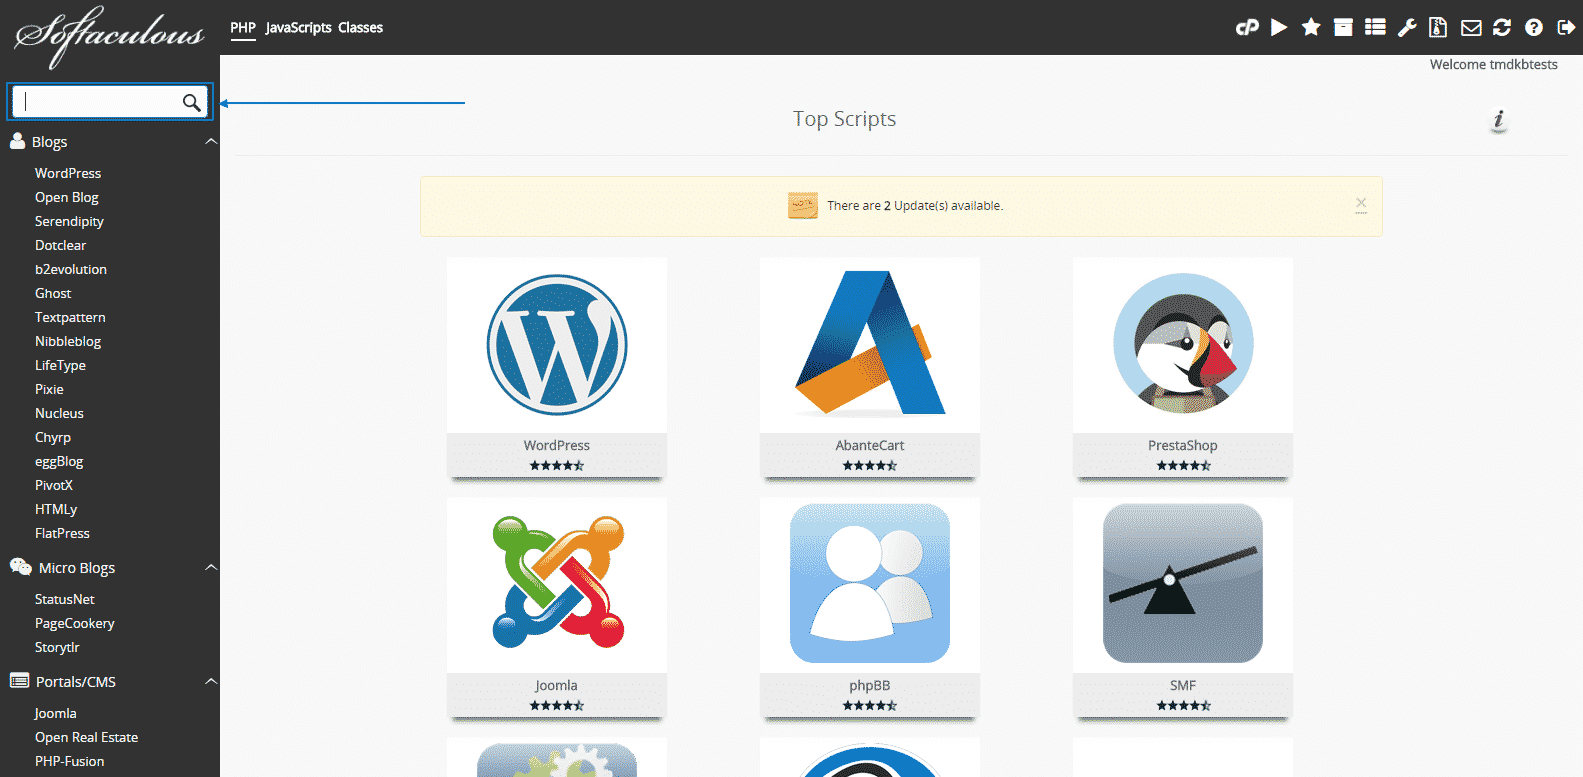
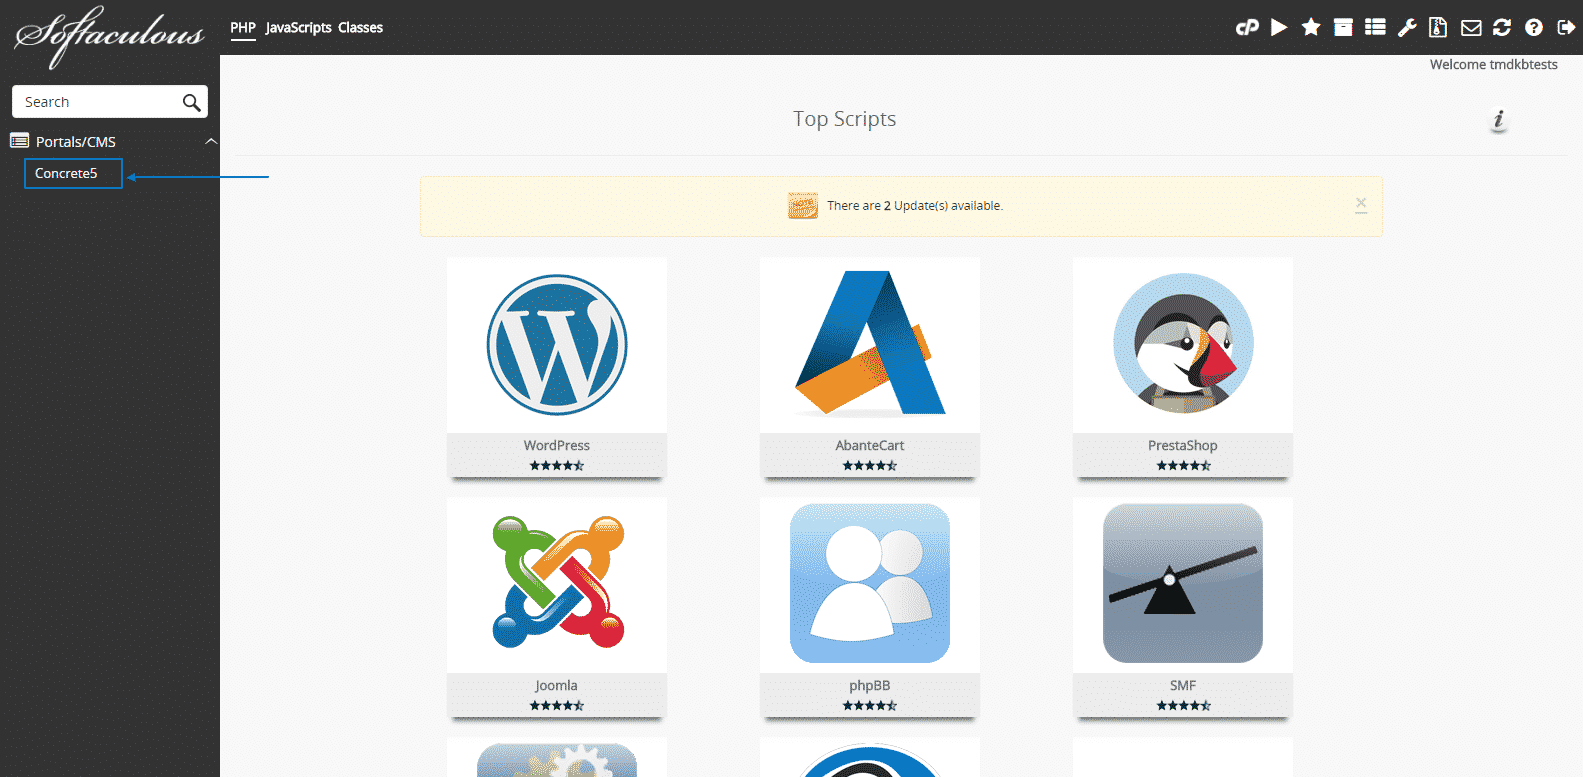
Then type down “Concrete5” and you will see that in the left column you will get a Concrete5 symbol, which you should then click on:
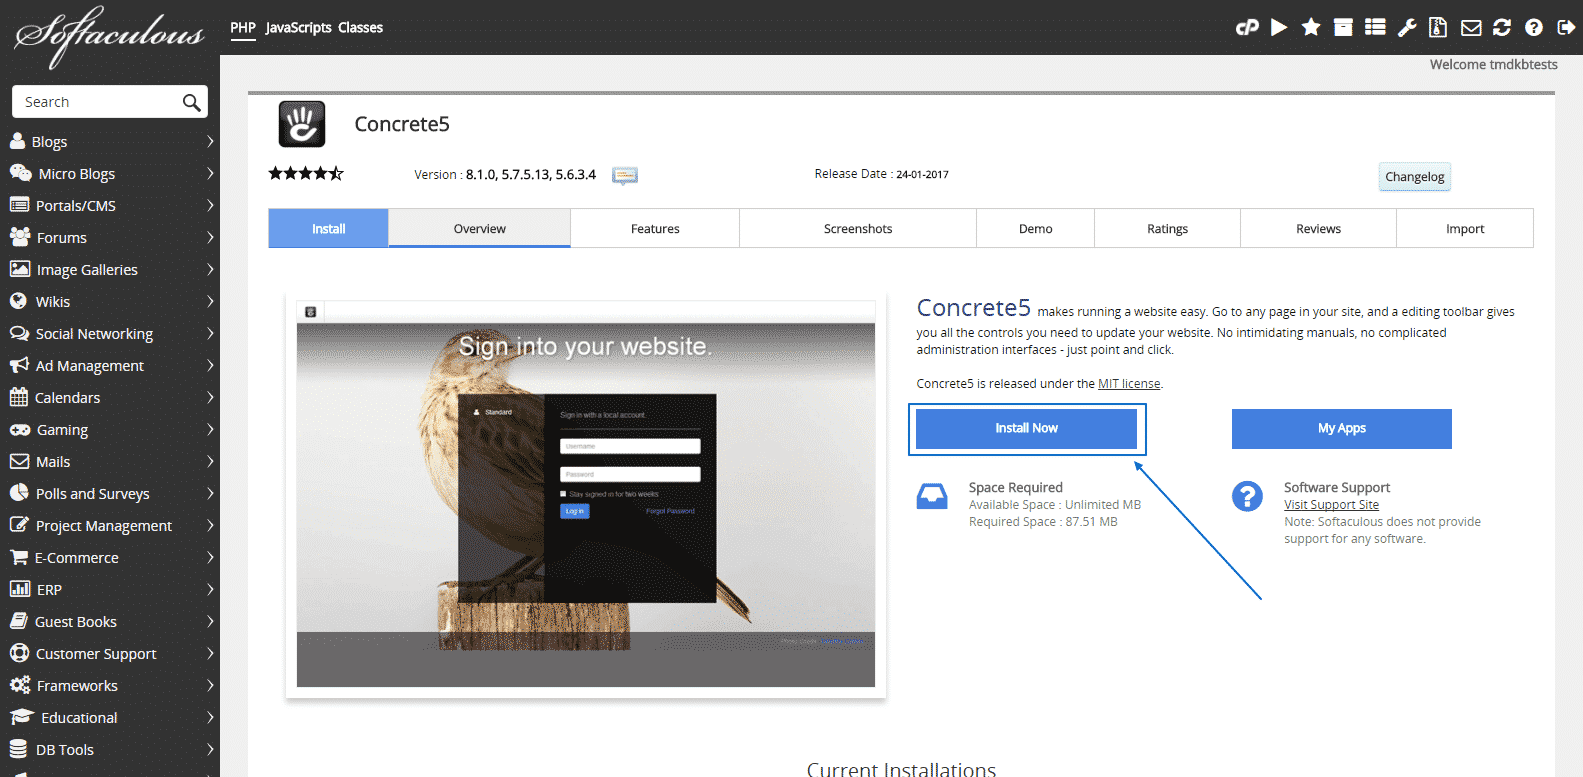
Afterwards, you will see a couple of options. You have to click on Install Now and proceed to the Auto Installation menu:
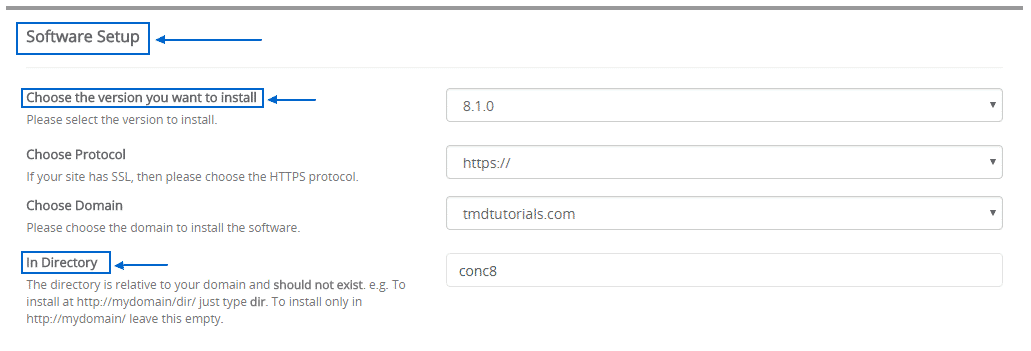
Then, you will see the installation screen with many options to consider. You can first check and make amendments, according to your needs, to the top part of the installation menu, which is named Software Setup. The version of the Concrete5 installation is automatically set to the newest one available, but you can change it if you need to. The same goes for the security protocol as well. Do pay special attention to the In Directory line, because it sets the place where the whole new installation is going to be located:
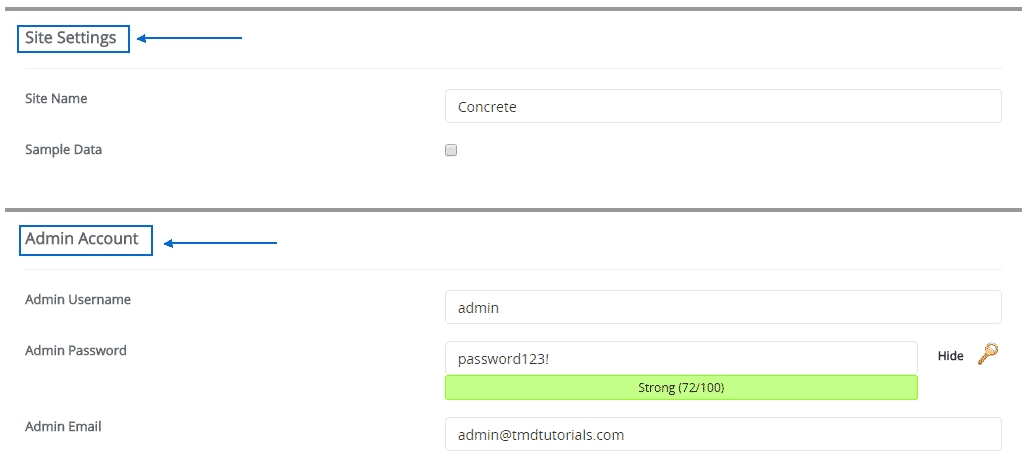
Afterward, you can change the Site Settings and the site’s name and just below that, in the Admin Account section, you can choose your administration username, password and email:
The final step of the process would be to make sure you have chosen your preferred default language and then click on Install:

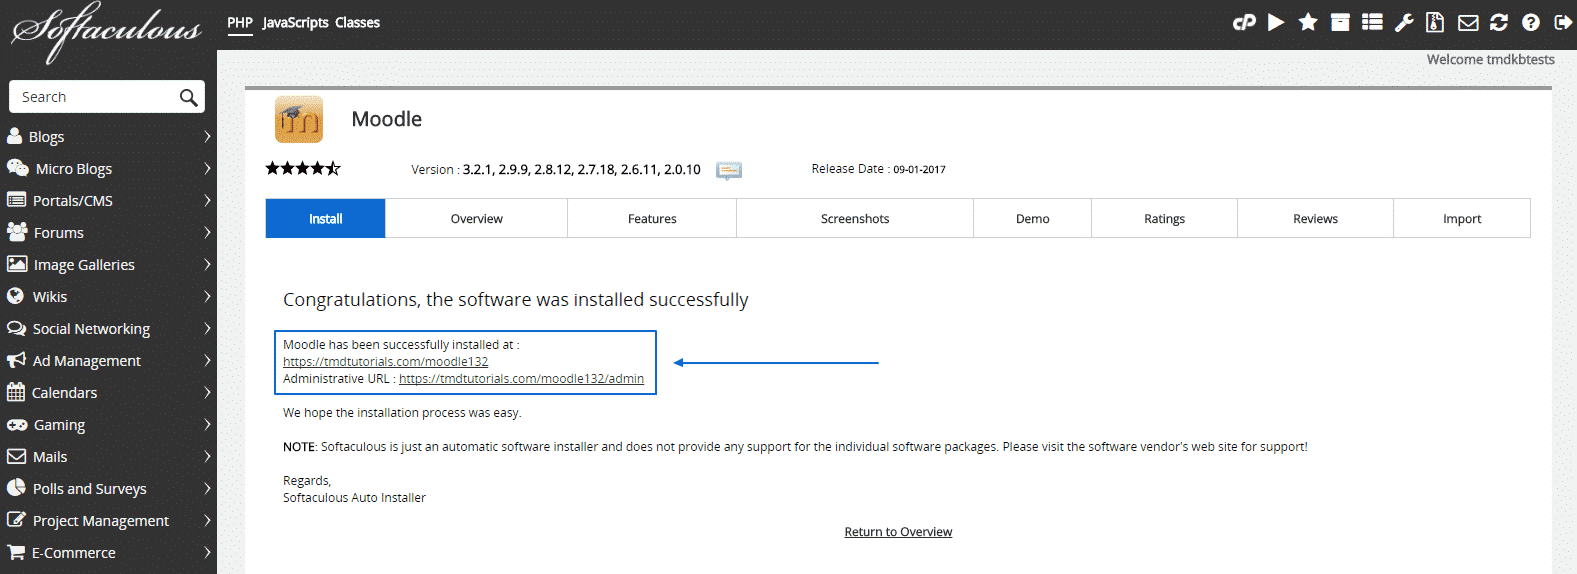
Next you just need to wait for a couple of seconds until the installation process is completed and you will be displayed with the login URLs for your new Concrete5 application:
