ClipBucket prides itself on being one of the top video sharing platforms available at the moment. We have covered the various steps towards operating your website on it – from the installation up until the backup processes, but probably the most essential features of all, which we are going to write about in this tutorial, is uploading video content. Fortunately, one of easiest things to do on ClipBucket is to actually upload a video.
The first step is for you to login into your admin account:

Once you are into your ClipBucket website, click on the Upload button on the right:

Then, at the drop-down menu, you need to choose Upload Video:

Next, you will be able to either Drag & Drop the video file you wish to upload to the cloud icon or to press Select Video and find it from a folder on your computer from the Upload File section:

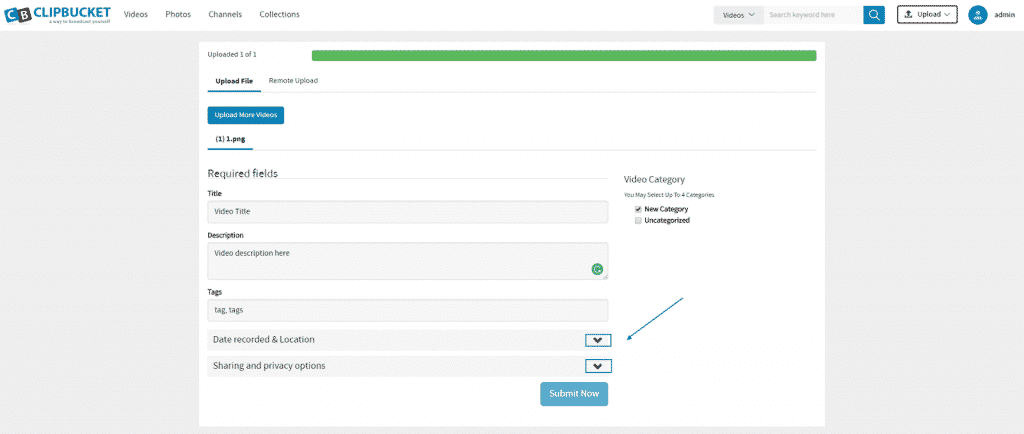
On the new window you can write a title and a description for the video, then you can choose from the two drop-down options below:

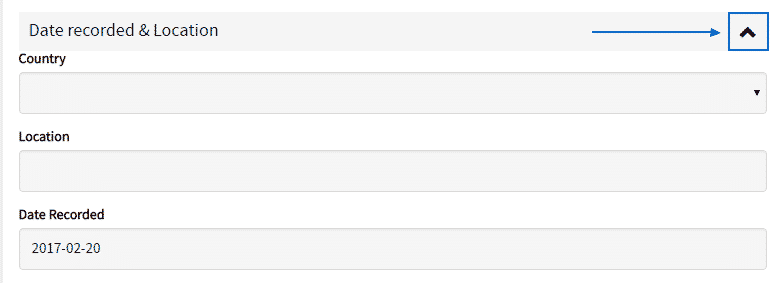
The first of them is the Date recorded & Location:

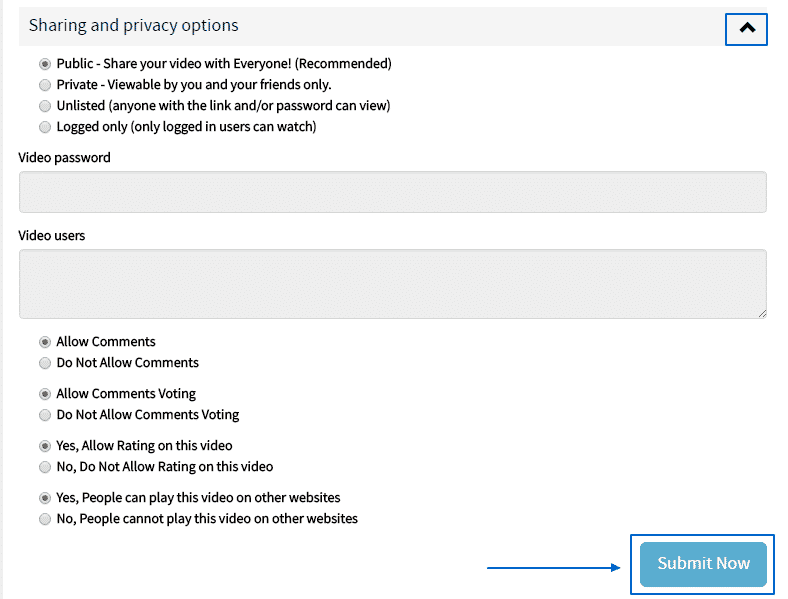
The second one is Sharing and privacy options. One you have set the options you want, you can click on the Submit Now button, in order to complete the upload process:

