ClipBucket is widely used platform for building video sharing online projects. Accessing its many amazing functionalities is easy, once you install it. There are two methods to do that. Here, we are going to cover the auto installation procedure. The application is appropriate for all of our hosting packages.
Here are the System Requirements of the application:
PHP 5.2.x & MySQL 5.x.x
PHP with Background Processing and Exec Enabled
GD Library
FFMPEG
FLVTOOL2 (optional for adding metadata to encoded FLV files)
The first thing you need to do in order to start the automatic installation process is to go to your cPanel. There, you should find the Software section and then locate and click on Softaculous App Installer:

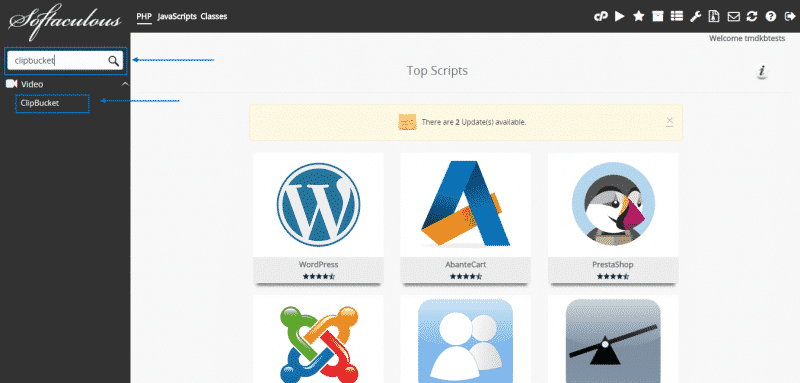
Then just type down “ClipBucket” in the search section and then click on the ClipBucket option below:

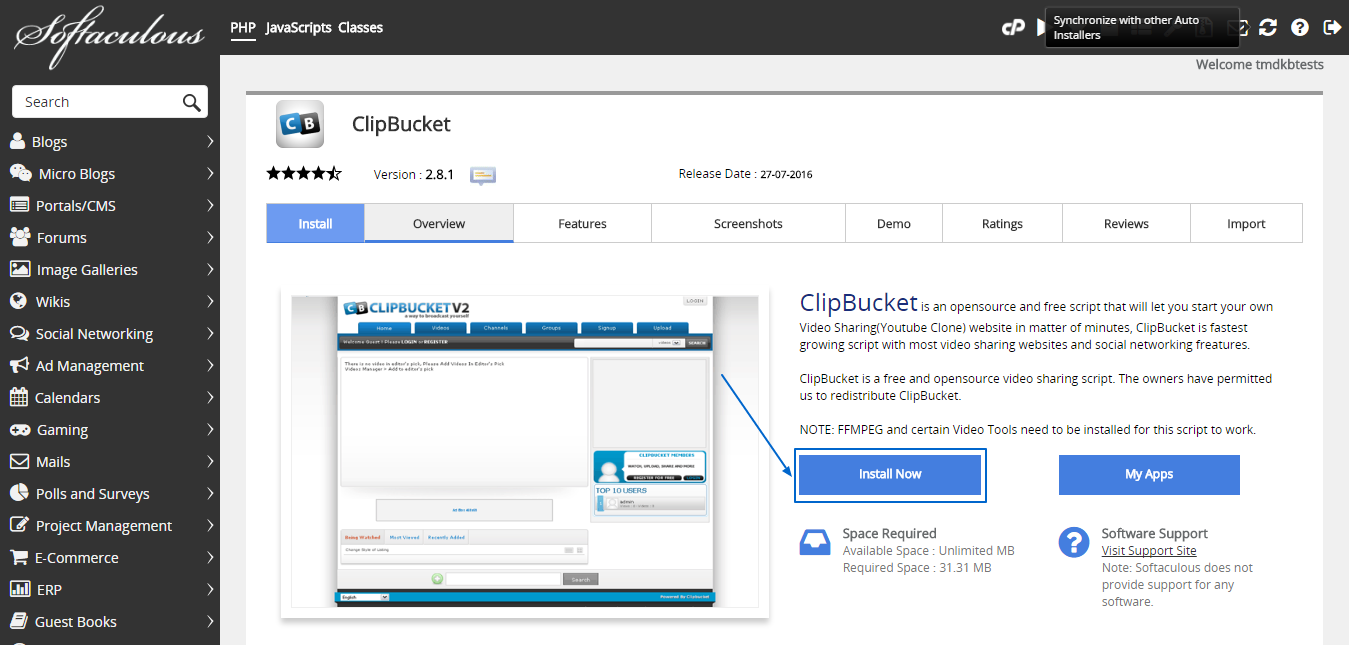
When you see the installation screen of ClipBucket you should simply click on Install:

Next, you will see in front of you an installation menu. In the Software Setup section you should pay a particular attention to the In Directory field as it is going to determine where the application is going to be installed and through which URL is it going to be accessible. Also, if you have an SSL certificate installed, make sure the protocol is set to https:// as it offers the best security:

Below, you have to fill in the Site Settings with your website’s name and description and then in Admin Account choose your username, password and email for your administration area:

After you are sure that you have filled in all the needed information in the menu, simply click on the Install button below:

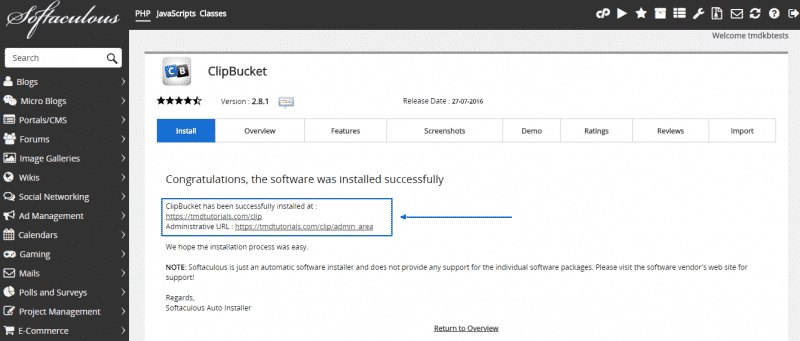
After you wait for a couple of seconds for the installation process to be completed, you will see the screen below. There, you will receive the URLs for both your website’s frontend as well as the administrative URL, showing that the application is already functional and ready to be used:

